How to Replace a Lenovo Laptop Keyboard: A Complete Guide
Introduction
If your Lenovo laptop keyboard is not working properly, replacing it can be a cost-effective solution. Whether your keys are sticking, some are non-responsive, or entire rows do not function, a new keyboard can quickly restore full functionality. This guide provides detailed steps on how to replace a Lenovo laptop keyboard, ensuring you can confidently handle the task yourself.
Preparation
Before you start the replacement process, it is crucial to prepare adequately. This step ensures a smooth and safe replacement.
Gathering Necessary Tools and Materials
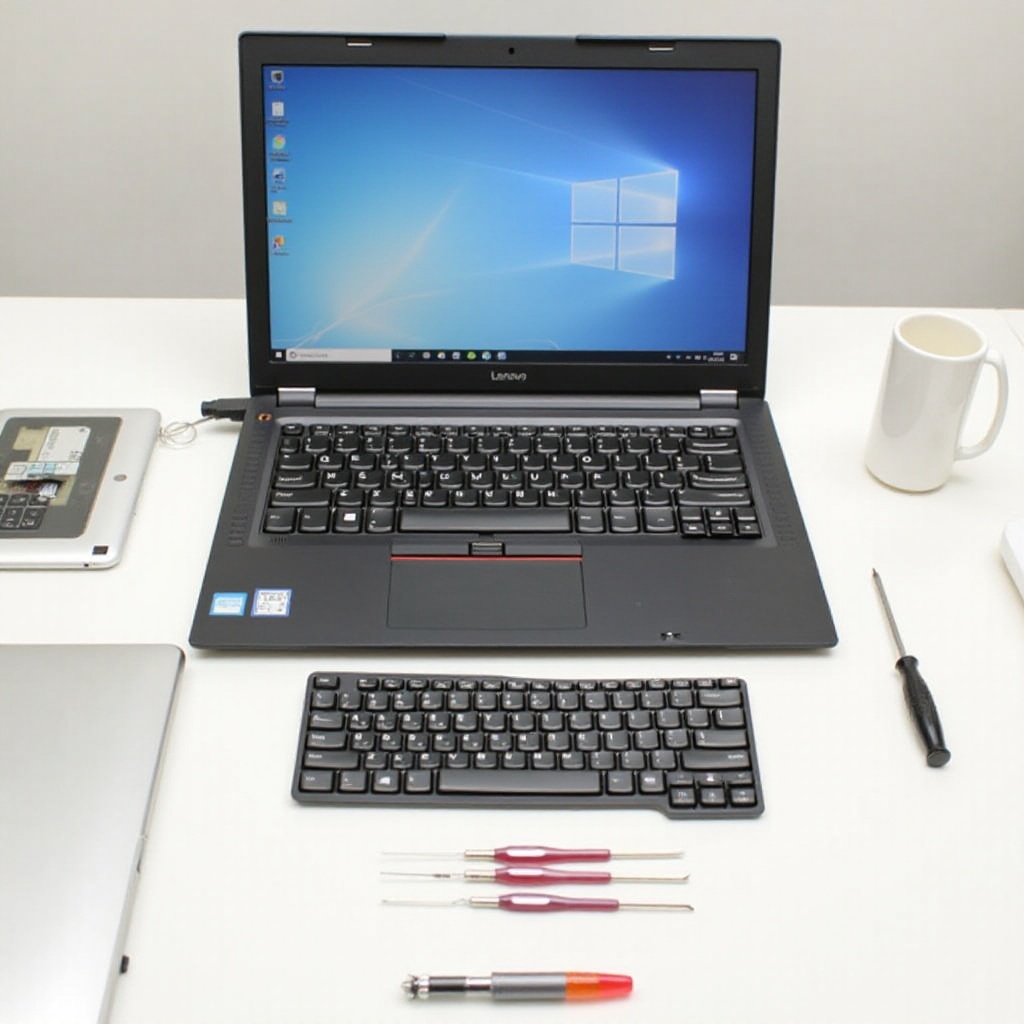
First, gather the tools and materials needed for the task:- A small Phillips-head screwdriver- A plastic pry tool- The new Lenovo laptop keyboard- An anti-static wrist strap (optional)
Having these tools at hand ensures you are well-prepared to tackle each step without interruptions.
Backing Up Important Data
Next, back up your important data. While replacing the keyboard is a hardware task, it is always good practice to safeguard your files in case something goes awry. Use an external hard drive or cloud storage to keep your data secure.
Powering Down and Disconnecting All Power Sources
Finally, power down your laptop completely. Disconnect all power sources, including the power adapter and any peripheral devices. Removing the battery is also crucial to prevent any electrical damage or shock.
Now that you are prepared, it is time to move on to removing the old keyboard.
Removing the Old Keyboard
Removing the old keyboard requires caution and precision. Follow these steps carefully to avoid damaging any internal components.
Identifying and Removing Screws Holding the Keyboard
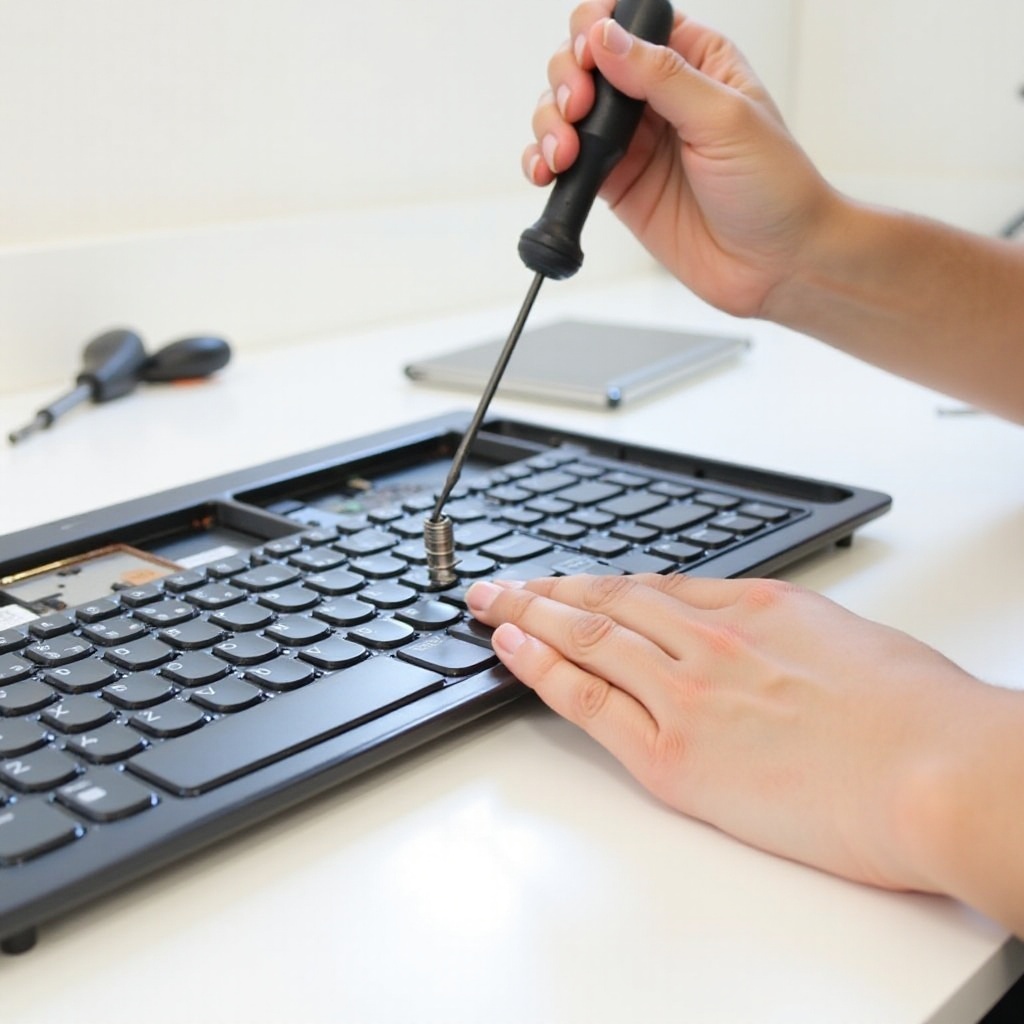
Turn your Lenovo laptop upside down and look for the screws that hold the keyboard in place. These screws are usually marked with small keyboard icons.1. Use your Phillips-head screwdriver to remove these screws.2. Place the screws in a safe place because you will need them later.
Carefully Lifting and Disconnecting the Keyboard
Once the screws are removed, turn the laptop over and open the lid.1. Use the plastic pry tool to gently lift the keyboard. Insert the tool between the keyboard and the laptop frame, then wiggle it gently to release the keyboard.2. Be cautious not to pull too hard, as the keyboard is still connected to the laptop via a ribbon cable.3. Locate the ribbon cable connector and gently lift the latch to disconnect the cable.
With the old keyboard removed, you can now proceed to install the new one.
Installing the New Keyboard
Installing the new keyboard involves the reverse of the removal process, but it is important to do it correctly to ensure the new keyboard works flawlessly.
Positioning the New Keyboard Correctly
- Align the new keyboard with the slots where the old one was positioned.
- Ensure it sits flush with the laptop's frame without any parts sticking out.
Connecting the Keyboard Ribbon Cable Securely
- Take the keyboard ribbon cable of the new keyboard and carefully insert it into the connector on the laptop's motherboard.
- Make sure the cable is fully inserted, then secure it by pushing down the latch.
Screwing the New Keyboard into Place
Flip the laptop over again and use the screws you removed earlier to secure the new keyboard. Tighten them firmly but not excessively to avoid damaging the keyboard or the laptop frame.
Now that the new keyboard is installed, proceed to the final steps to ensure everything is working correctly.
Final Steps
With the new keyboard in place, you need to power up the laptop and test the installation.
Powering Up the Laptop to Test the New Keyboard
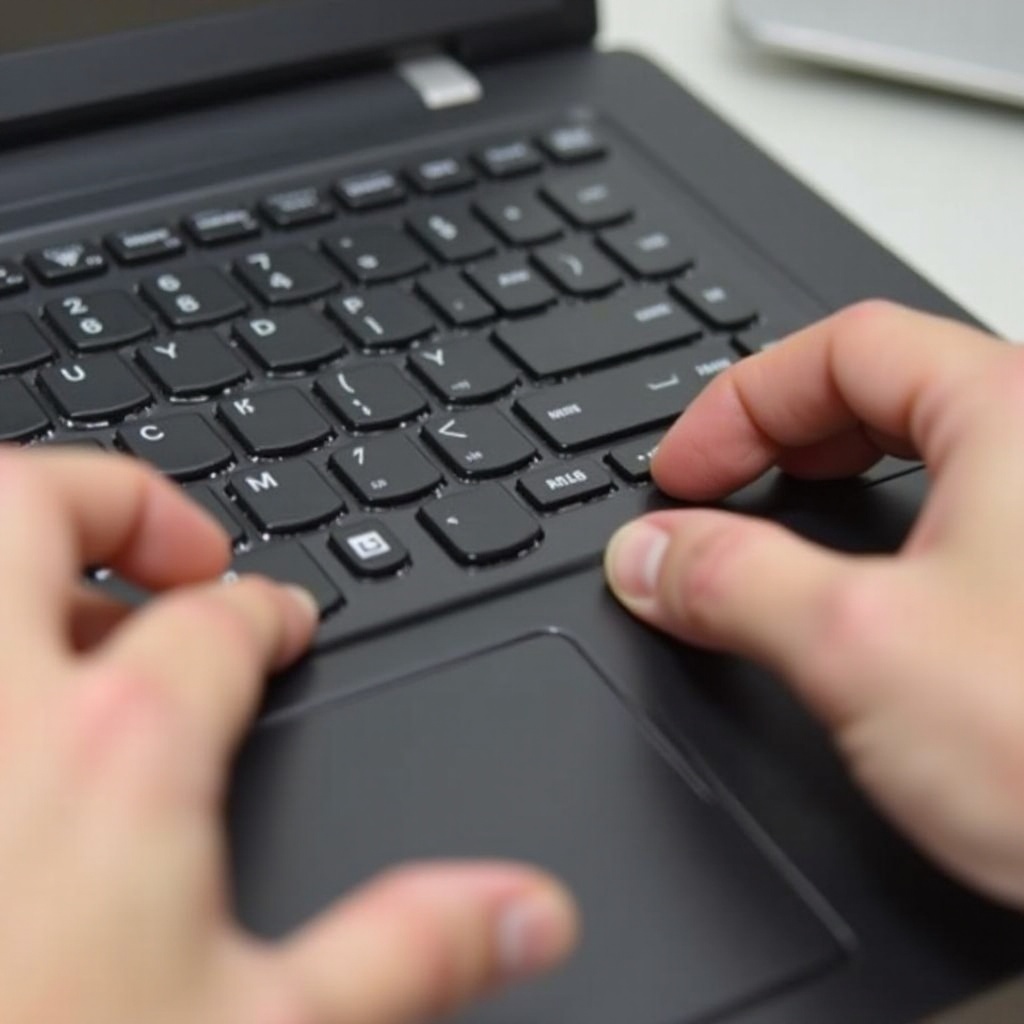
Reconnect the battery and power adapter, then turn on the laptop.1. Once booted up, test each key on the new keyboard to ensure they all work.2. Pay close attention to common keys like backspace, enter, and spacebar, ensuring no key is missed.
Troubleshooting Common Installation Issues
If some keys are not working, double-check the ribbon cable connection.- Make sure it is securely inserted and the latch is properly engaged.- If necessary, disconnect and reconnect the cable to ensure a good connection.
Reassembling Any Remaining Parts
If you had to remove any other components during the replacement process, reassemble them now.- Ensure all screws are tightened, and all parts are correctly positioned.
With the final steps completed, you should now have a fully functional new keyboard on your Lenovo laptop.
Conclusion
Replacing a Lenovo laptop keyboard might seem daunting, but with the right preparation and careful execution, it is a manageable task. By following this comprehensive guide, you have learned how to safely and effectively replace your laptop's keyboard, ensuring continued productivity and extending the life of your device. Remember, if you encounter any issues, do not hesitate to revisit the troubleshooting section.
Frequently Asked Questions
Can I replace my Lenovo laptop keyboard by myself?
Yes, you can replace your Lenovo laptop keyboard yourself. This guide provides step-by-step instructions to help you complete the task safely and effectively.
How long does it take to replace a Lenovo laptop keyboard?
The entire process usually takes about 30-60 minutes, depending on your comfort level and familiarity with the task.
What should I do if my new keyboard isn’t working?
If your new keyboard isn’t working, first check the ribbon cable connection to ensure it is securely connected. If the problem persists, consider consulting a professional technician for further assistance.


